Thanksgiving is a week away, and the countdown to one of the best feasts of the year is on! You’re probably all set with the food plan, but have you thought about your table setting? A beautiful table is part of what makes Thanksgiving so special.
If the thought of decorating a holiday table overwhelms you (because Thanksgiving dinner is already quite the event to coordinate!), I’m here to tell you to K.I.S.S. or KEEP IT SIMPLE, SUNSHINE! I have five easy tips that will help you put together a beautiful table that is simple, budget-friendly, and still leaves room for all the food!
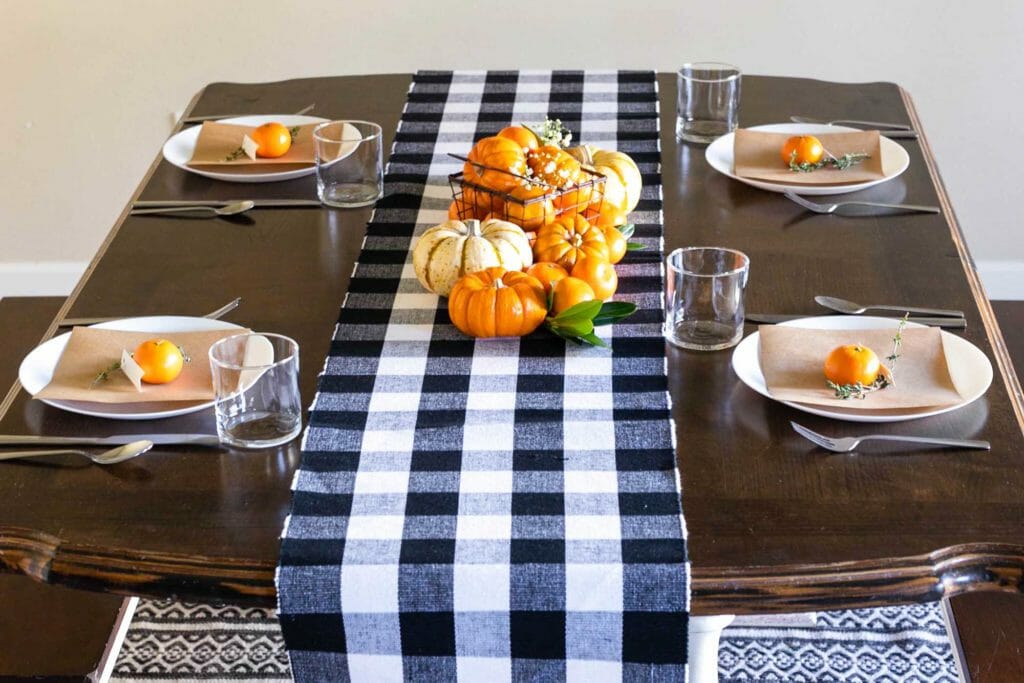
TIP #1 – USE A TABLE RUNNER OR COVERING
I have two go-to table runners that I keep on hand for any occasion. One is a black and white checked table runner, and the other is simple brown butcher paper.
I use the checked table runner not only at Thanksgiving, but also Christmas, Halloween, even Valentine’s Day! Since it has classic black and white colors, all I need is a pop of color to tie it into whatever holiday I’m celebrating.
My second table runner of choice is butcher paper. I keep a roll on hand to wrap gifts in and for my kids to color on, but it also makes for a great table covering! Added bonus: If you want something fun to do with the kids, they love to sit down at the table and color on the butcher paper!
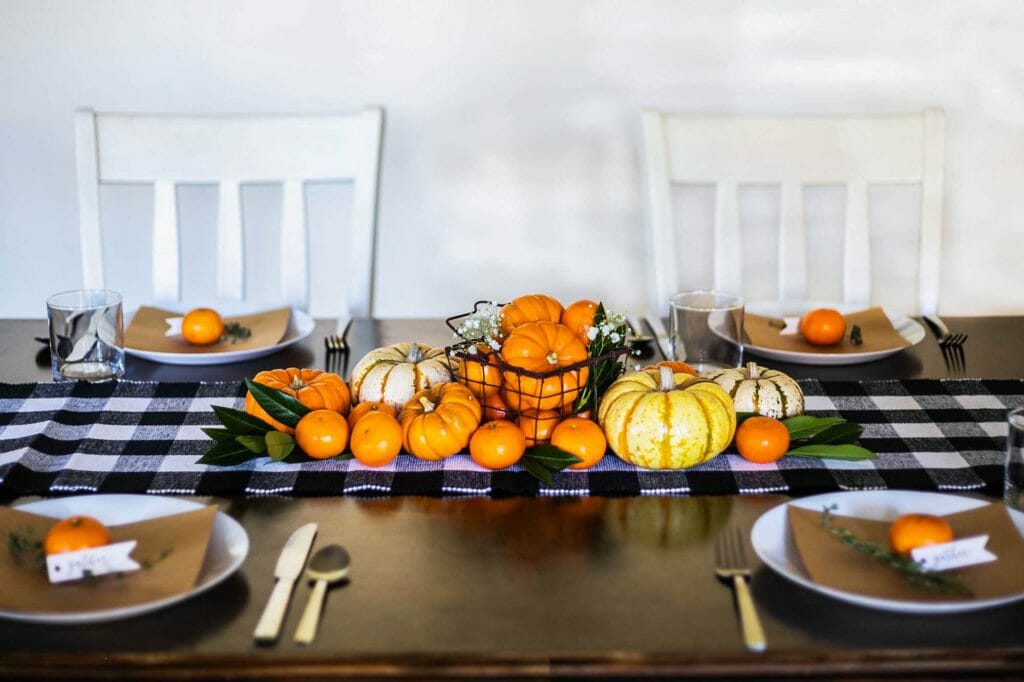
TIP #2 – CREATE A CENTERPIECE WITH FLOWERS, FRUIT, OR ITEMS FROM YOUR HOME
Once you’ve chosen your table runner or covering, it’s time to create a simple centerpiece. My favorite centerpieces are made from things I’ve gathered from around my home—think apples, oranges, cranberries, leaves, sticks, pinecones, herbs, and pumpkins!
Flowers are always a winner; if you’re at the grocery store shopping for all your food, just swing by the floral department. They have a wonderful variety of flowers and foliage that won’t break the bank. I particularly love baby’s breath.
If you’re using fruit, place them in the center of the table in a basket or beautiful bowl with some leaves from outside. If you’re using herbs or sticks, put them in a mason jar or even a glass cup.
Don’t overthink it! Keep it simple and pick what inspires you.
For my centerpiece, I first added some small oranges to the basket, then added a couple of pumpkins on top. Once the basket was filled, I placed the larger white pumpkins on the table around the basket and then filled the space with the smaller pumpkins.
My rule of thumb is to work in odd numbers, so on each side of the basket you’ll see three pumpkins each. The oranges act as fillers, and I place them in the gaps.
Finally, I placed the leaves and baby’s breath randomly in the arrangement. The thing with arrangements like this is they don’t have to be perfect! When it’s imperfect, it gives it a more organic look!
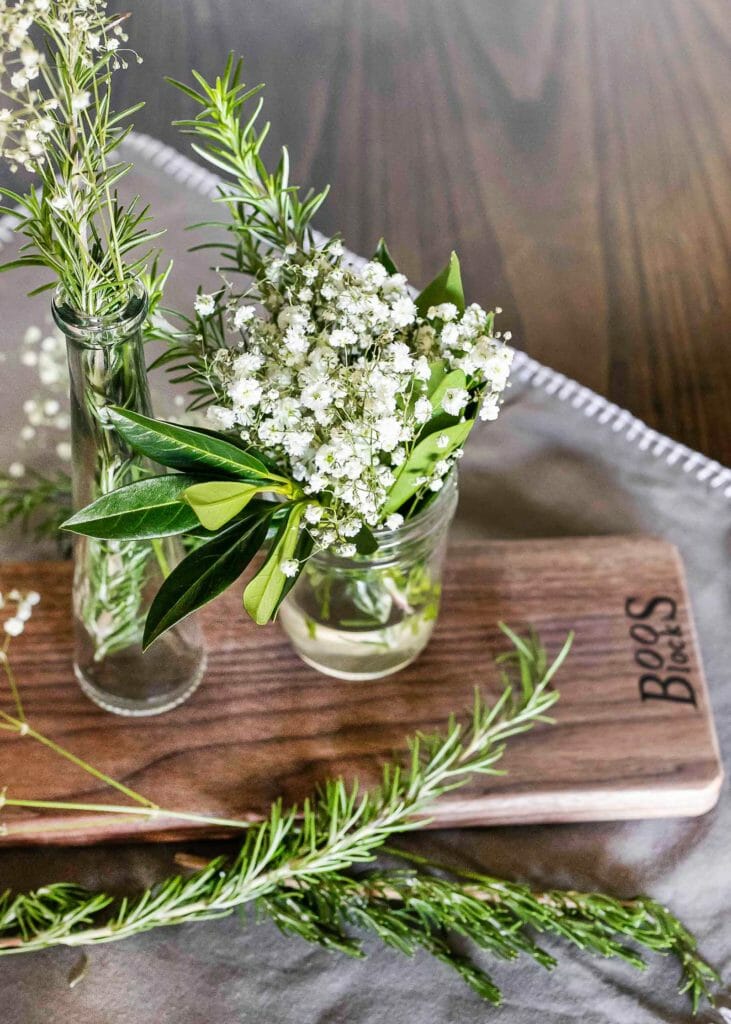
TIP #3 – ADD A LITTLE HEIGHT
Once you have your centerpiece set, vary the height of the items by placing them on cutting boards or plates. It’s a great way to add dimension and variety to your tablescape. (And when I say height, I really mean just a little bit, or you won’t be able to see the people across from you!)
I have several cutting boards, and the one I use most for this purpose is my Boos cutting board. I have used it as the base for many centerpieces. (It’s also a great board to put your side dishes on!)
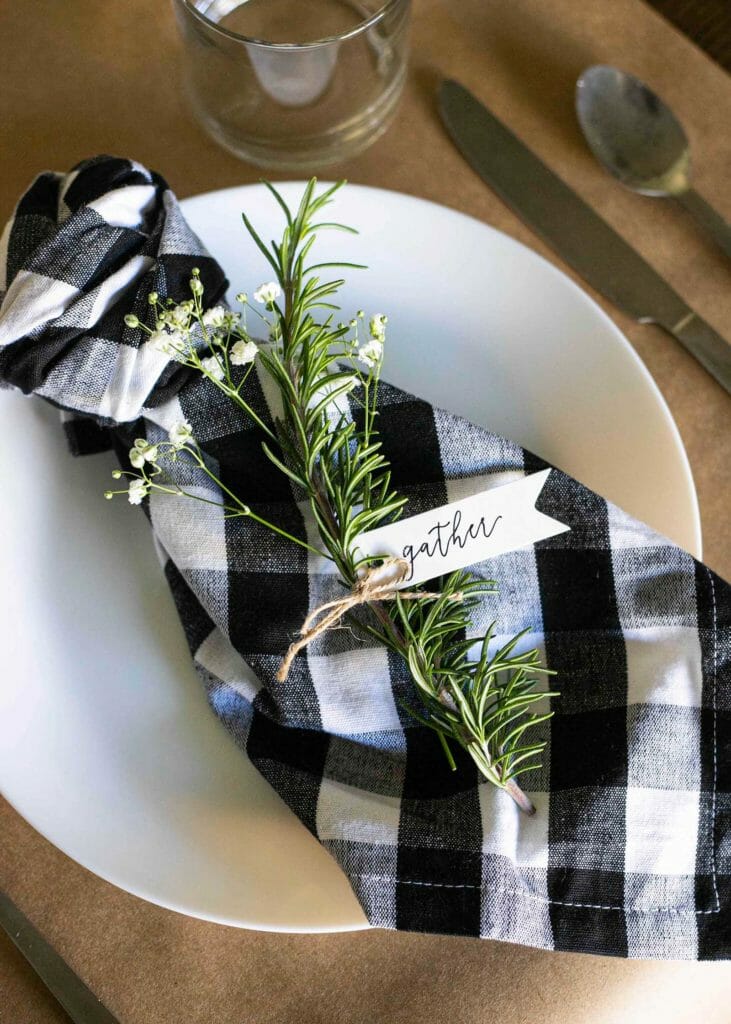
TIP #4 – CONSIDER YOUR NAPKINS
If I’m using the butcher paper on the table, I like to use napkins with color or a pattern. I tie a knot at the top and set it on top of the plate. Easy-peasy.
If I’m using a patterned table runner, I keep the napkins simple and pattern-free. I place paper napkins under the silverware or on the plate on a diagonal. Be careful not to mix too many patterns on the table!
My formula for success is:
- Patterned tablecloth or runner = simple napkins!
- Simple tablecloth or runner = fun napkins!
TIP #5 – MAKE THE PLACE SETTINGS SPECIAL
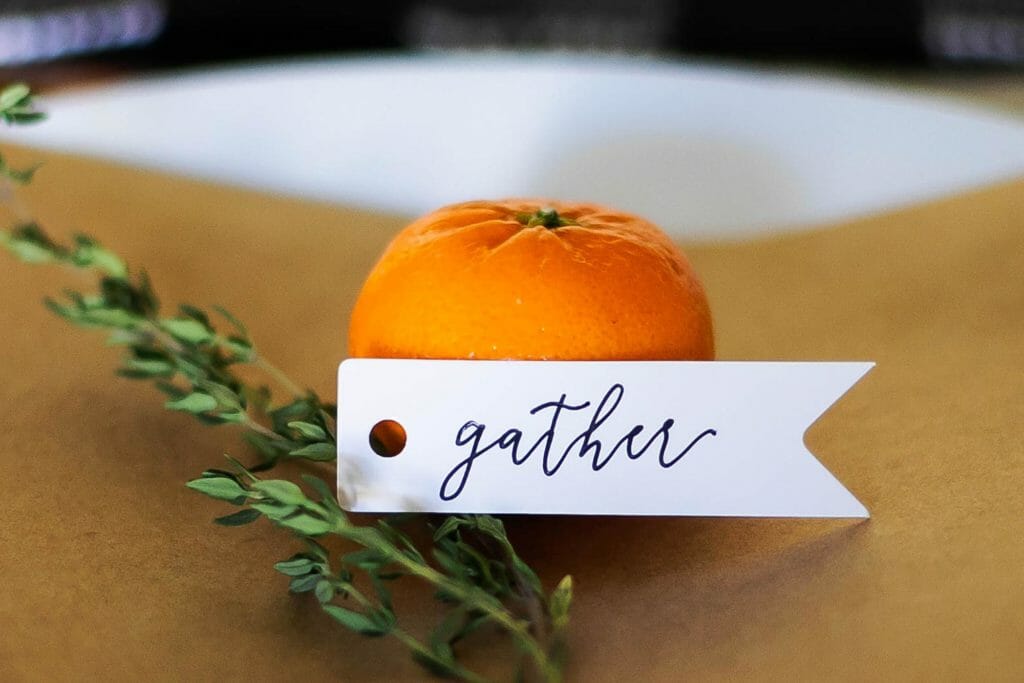
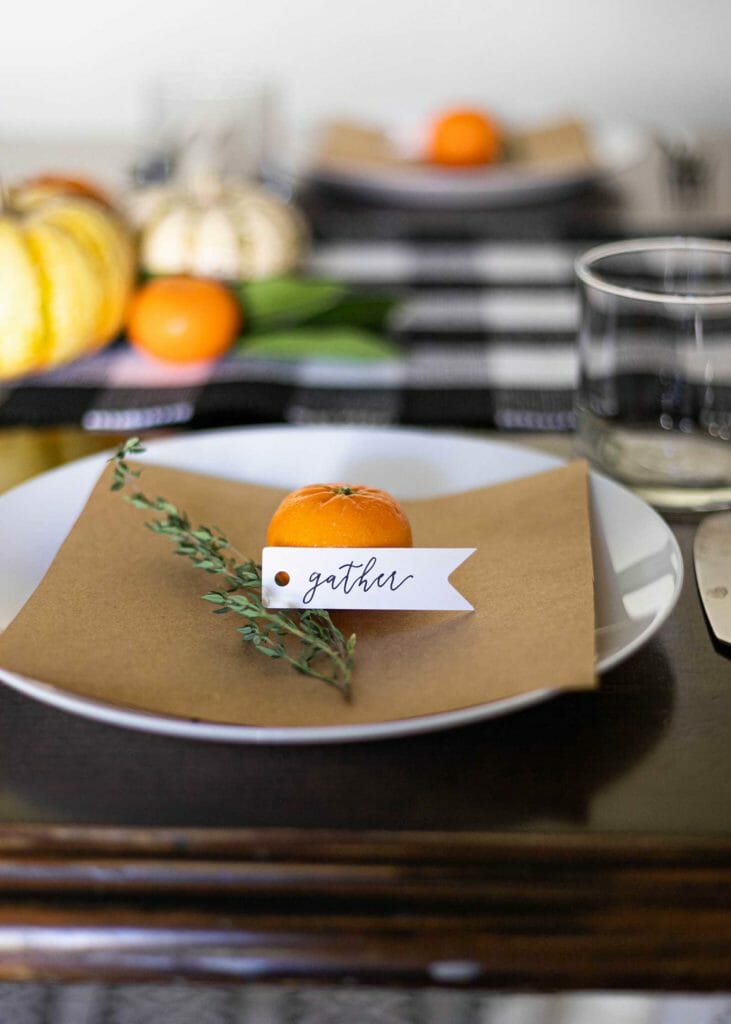
Instead of assigning seats, I like to place a simple notecard on each plate with a word or phrase. I chose Gather because that is what I love most about Thanksgiving: I am gathering my closest friends and family together in a celebration of gratitude.
Other phrases you might use are: Blessings, Gratitude, Give Thanks, Harvest Blessings, or Grateful Hearts.
You can also add a small token to each place setting, which is a lovely way to spiff things up. It doesn’t have to be complicated. Remember all the things we gathered in Tip #1? Use those same items to adorn each plate. Feel free to match all the place settings, or if you’re going for a more informal vibe, place something different on each table!
BONUS TIP – DON’T STRESS!
Seriously. Don’t worry about making every little thing absolutely perfect. What will make things special are the people gathered around the table! If you are feeling a little anxious or overwhelmed, just remember: KEEP IT SIMPLE, SUNSHINE!