[Photographs: Vicky Wasik. Video: Natalie Holt.]
When you usually think of dessert for one, it’s something microwaved in a mug or a precious, portioned miniature. But I don’t want a sensible cupcake or tiny pie, I want something I can eat entirely, all on my own. This flan fits the bill. With deep, dark caramel to take the edge off, it’s never too rich or cloying. I even take it one step further by toasting the dairy for the added savory notes of nutty toffee and toast. Sure, you could share—this baked custard can easily slice into sturdy wedges to feed a crowd. But on cloudy days when the husband’s away, I don’t even flip it out of its pan and dig right in with an extra large spoon.
A flan is a baked custard often served in Latin America and Spain. Unlike crème brûlée or crema Catalana, where sugar is sprinkled on top of a baked and cooled custard before getting torched into a crisp topping, here we start with the caramel. Caramelized sugar syrup is poured into a dish and dangerously swirled around to coat the bottom in a shimmering golden shell. A custard is then poured on top and, while baking in the oven, it dissolves the caramel shell into a sauce. The sauce waits patiently under the tender custard until you ultimately flip out the flan, or dig in with a spoon to find the glittering pool.
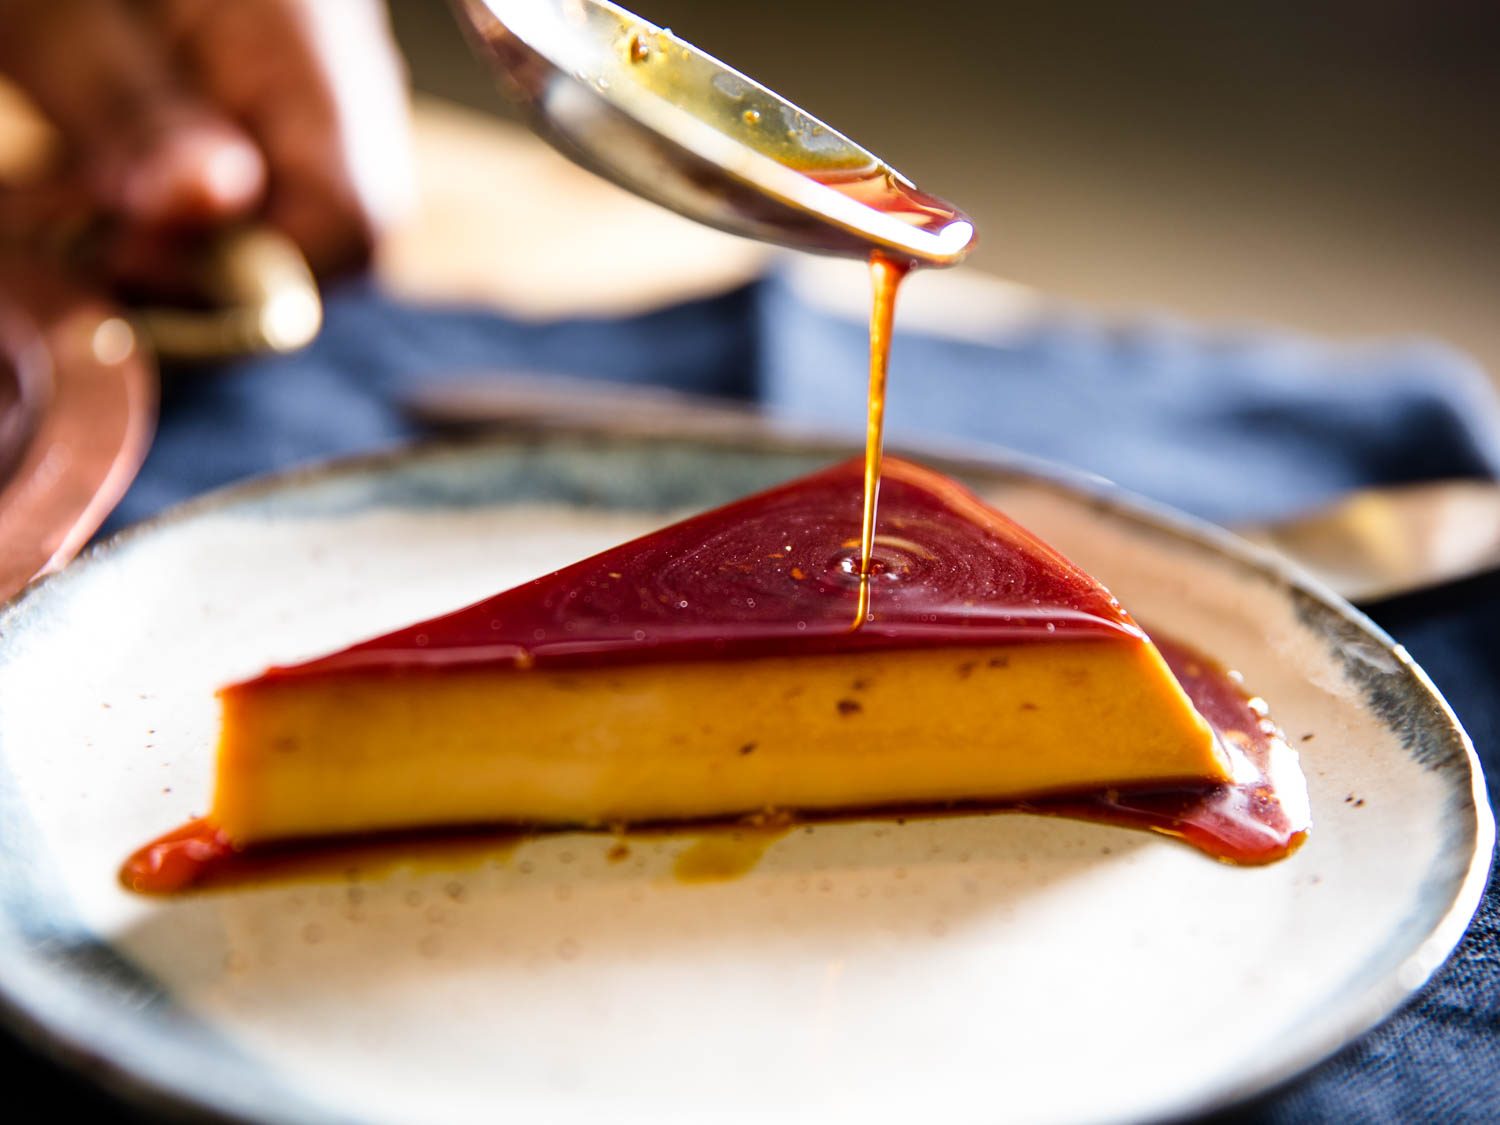
Flan is really all about the caramel. Sure, when made right, the custard will be creamy and rich without being dense or heavy, with a little jiggle that melts in your mouth. But the sharp acidity and smokiness of burnt sugar are at the forefront, and I look at the custard as just a vehicle to put the maximum amount of caramel into my body.
I tested the recipe with sugar taken to various degrees of caramelization, from a light clover honey hue to the darkest shades of my heart. The majority of the tasters preferred the flan with the darkest, nearly burnt sugar for the contrast it provided the delicate cream. If you prefer a more subtle and sweet flavor, stop cooking the sugar at an earlier stage. The initial goal of testing the caramel was to provide a temperature guide, which would allow you to reproduce the caramel which most accurately represented my black soul, but unfortunately the amount of sugar used in the recipe creates a volume of caramel that is too shallow to register on a candy thermometer. Your best bet is to let color be your guide and find the caramel that best speaks to you.
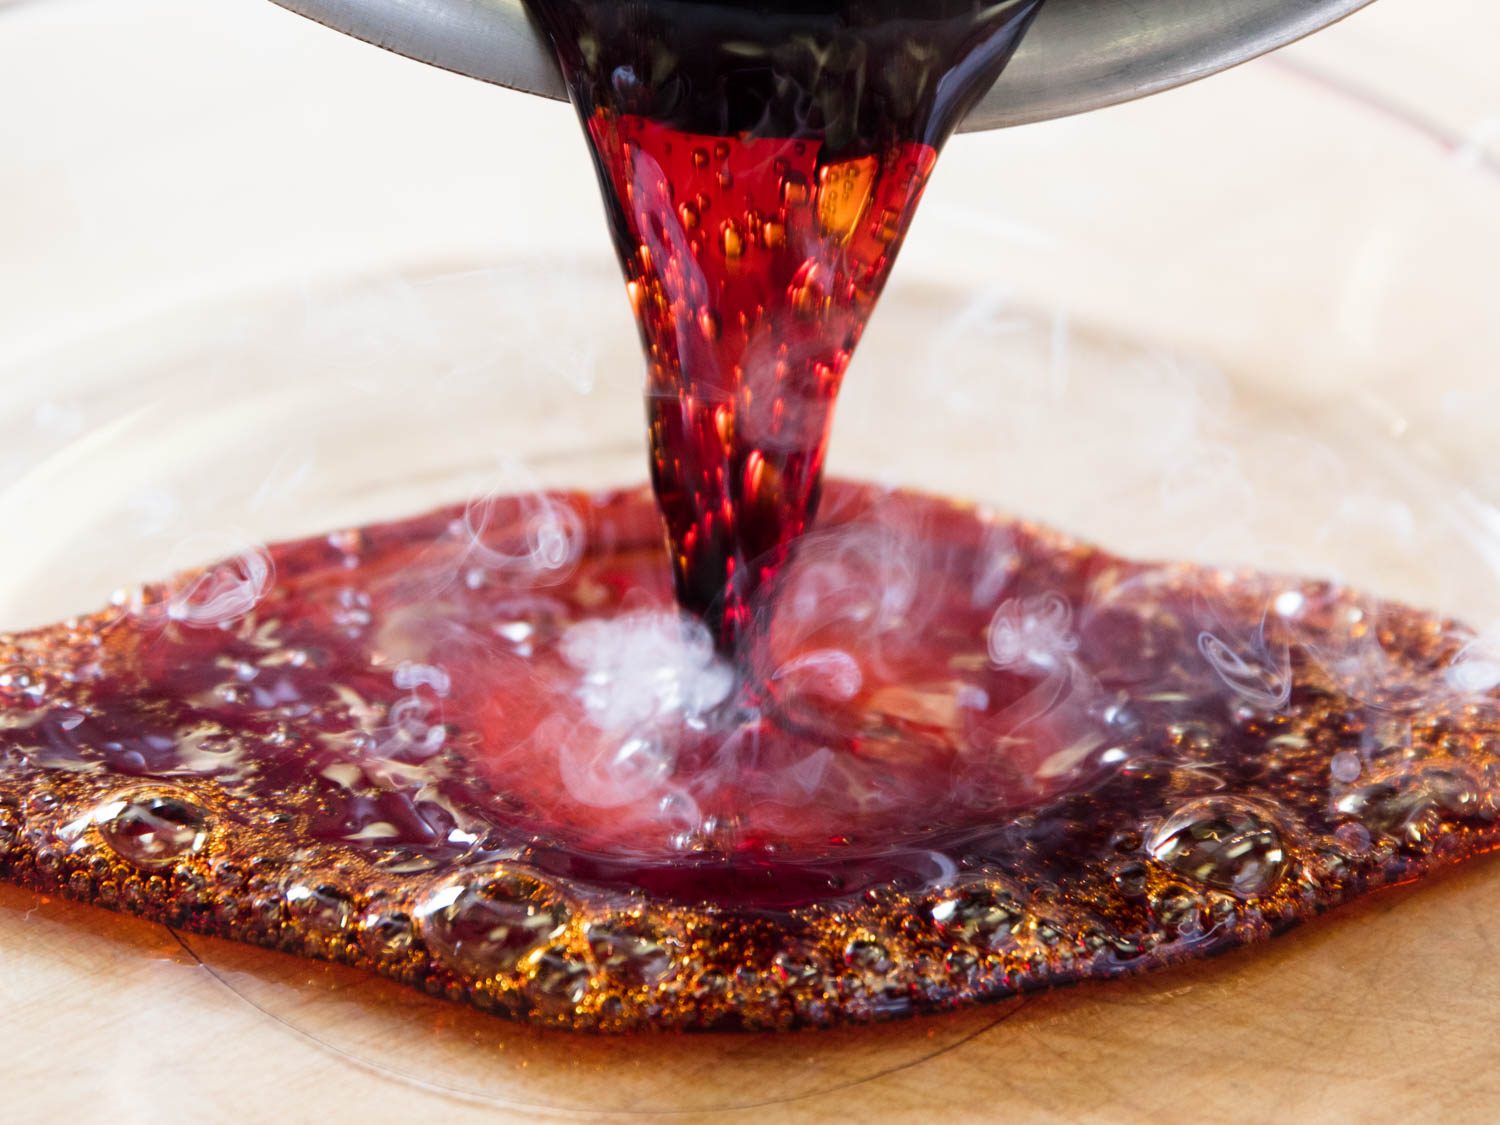
There’s more than one way to make a caramel. Some methods melt sugar completely dry—a fast route for a skilled sugar master—while others give the sugar a little nudge in the right direction with a splash of water. I prefer the safety net a splash of water gives me, especially with such a small quantity of caramel, where the extra time is hardly a game changer.
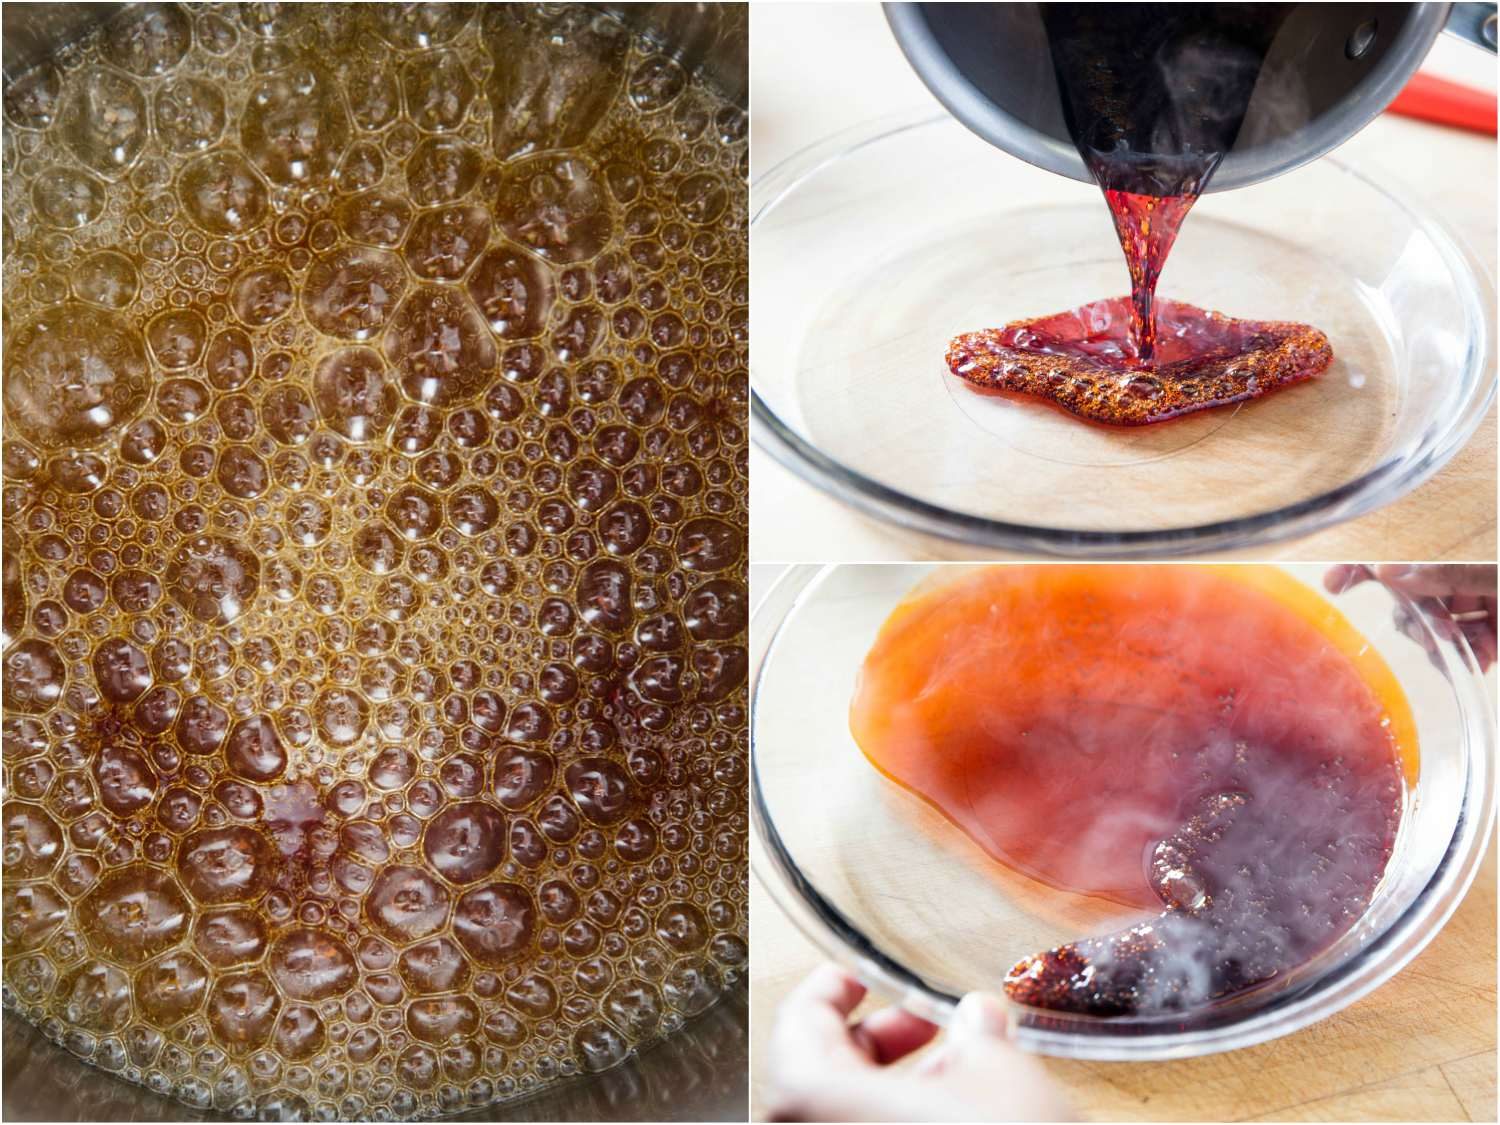
To make the caramel, I add sugar and water to a pot over medium heat and cover with a lid for the first stage. The condensation from the water washes down the sides of the pan, preventing any annoying crystallization. Once the sugar has dissolved into a syrup, I uncover the pan and crank up the heat to watch the magic happen. It’s a quick transformation from a pure white pile to smoldering lava, so keep a close eye on it. I take my caramel to the edge: Once the syrup is well past golden, the room starts to get smokey, and I start to wonder if I’ve gone too far, I pour the caramel onto a dish and quickly swirl it around to coat the bottom and sides of the pan.
Now, don’t wash that pot just yet—there’s still good flavor in there! To top out the caramel-ness of this dish, I also caramelize the sugar in the custard. In the same pot I add some more sugar and cook, but this time to a more conservatively caramelized stage, so it’s sweet enough to flavor the custard. Once it’s fully taken on a sunset hue, I add toasted milk and cream—but the clean, cool flavor of fresh dairy will do just as well.
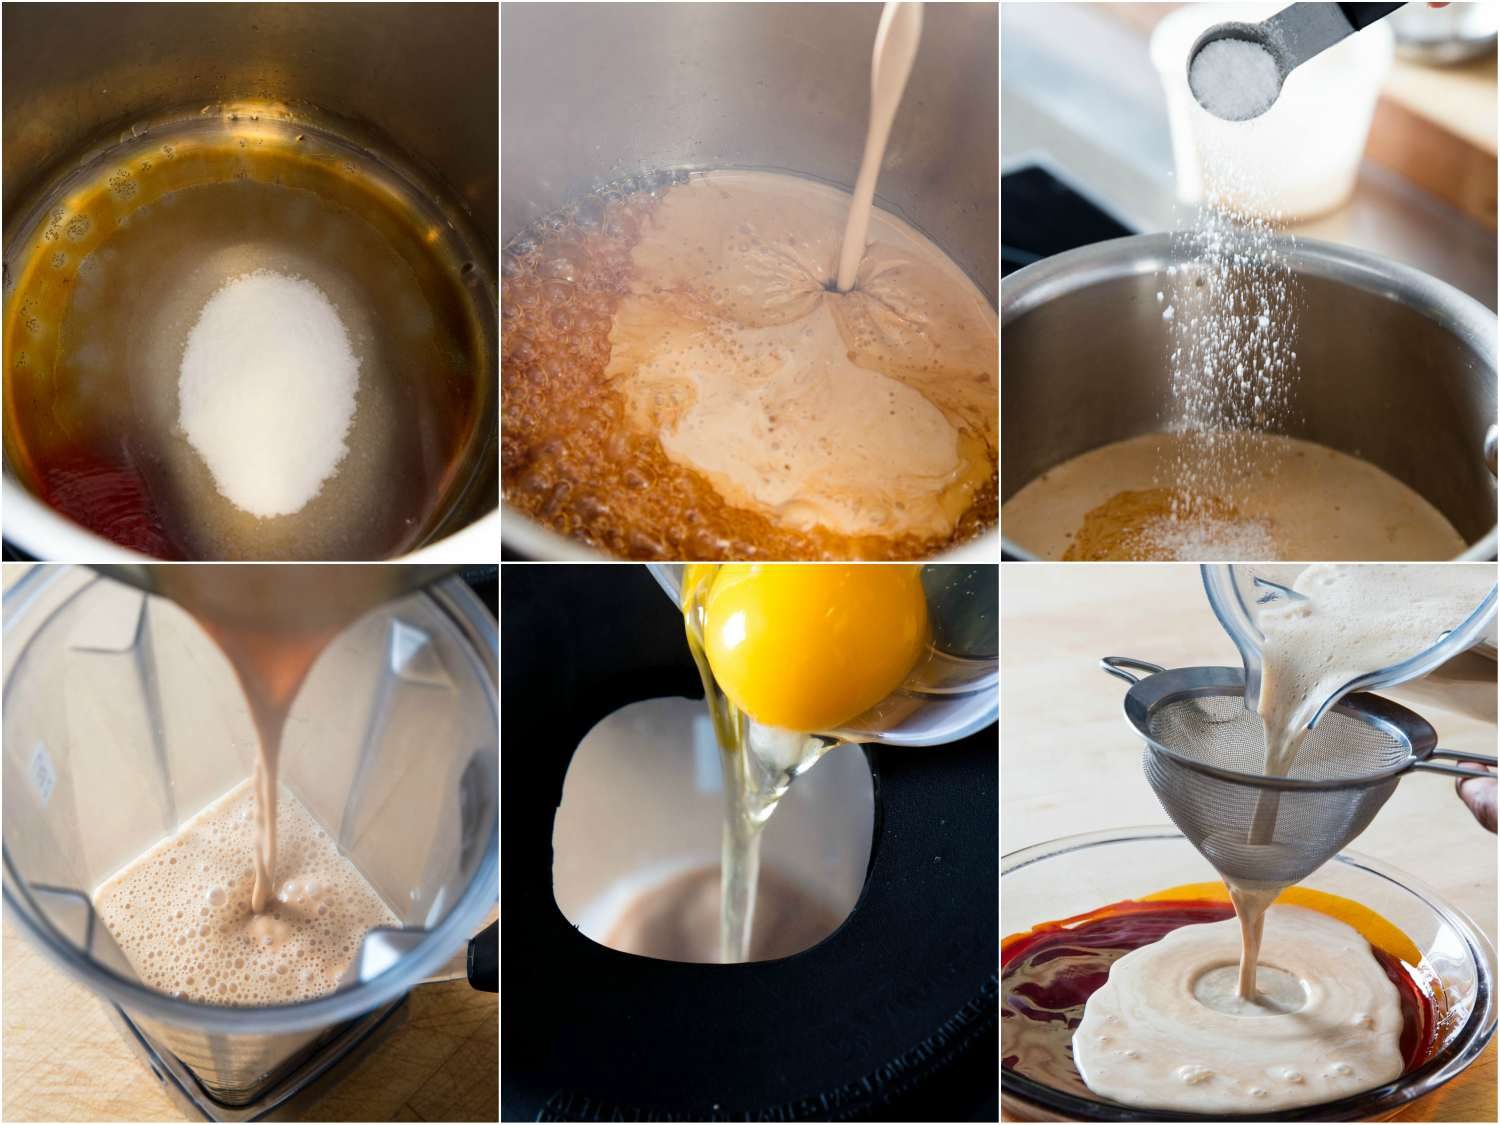
I bring the mixture up to a simmer to dissolve the caramel before tempering in the eggs and yolks. Typically, hot liquids are tempered into eggs by adding a ladleful at a time while whisking vigorously, but I don’t always trust myself. My lack of coordination has led me to witness many good custards go bad, so I prefer to temper eggs with the help of a blender. I pour the hot milk and cream into a blender and, while running on low, I add the eggs, yolks, salt, and vanilla. The blender leaves me with two free hands to pour in the eggs and dance around the kitchen with jazz hands—show me a whisk that’ll let you do that!
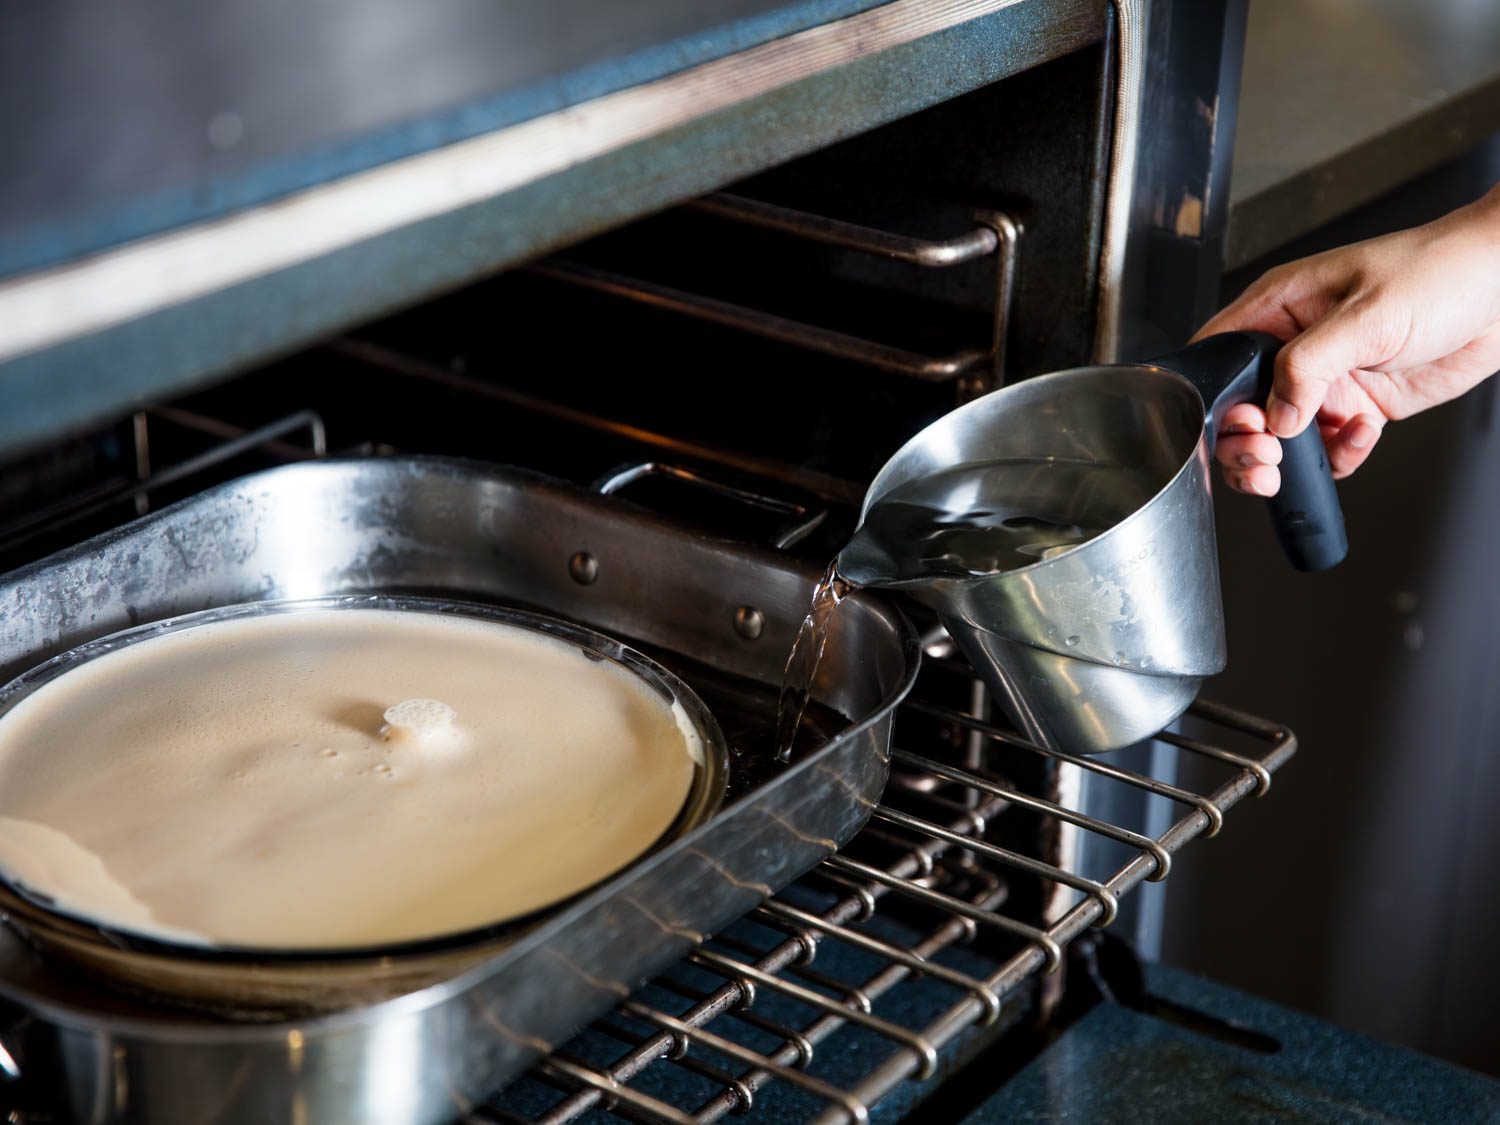
Once the custard is all blended together, I pour it into my caramel coated pan before covering everything loosely with foil or plastic wrap. The oven temperature isn’t high enough for the plastic wrap to melt and it gives you a clear view of the flan while baking. However, if plastic in the oven gives you the heebie-jeebies, foil can step up to the plate as well. Covering the custard not only prevents it from forming a skin, but also helps it cook faster. When testing flans baked covered versus uncovered, the covered flans baked in one-third less the time.
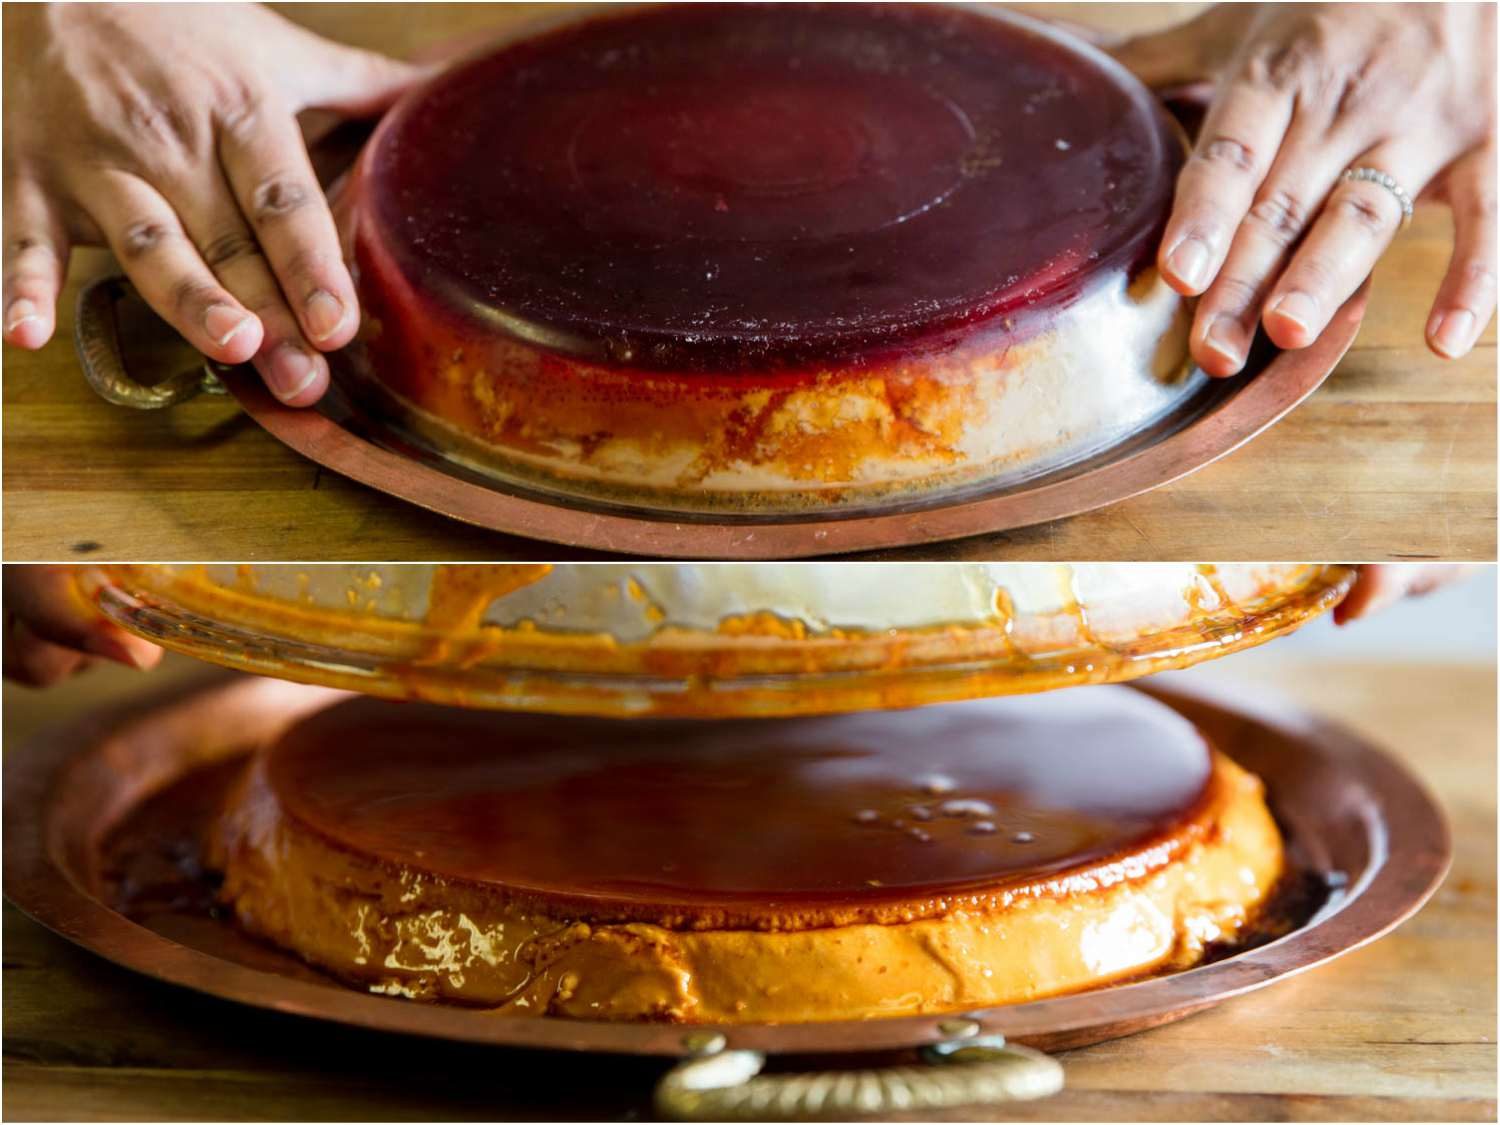
For a tender and supple flan, I bake the custard until it is just set and has reached an internal temperature of 175°F (80°C). Any higher and the flan will become dense and, at the extreme, curdled and grainy. To prevent overshooting our desired internal temp, the flan needs to be protected from the intense dry heat of the oven with a water bath. By cooking the flan in a roasting pan filled with hot water, we guarantee that the custard won’t heat past the boiling point, and we can slowly reach our ultimate temperature. The cooked flan will give you a boisterous wiggle when shaken, while still being set to the touch.
If you want a flan recipe that involves sous vide, our buddies at Chef Steps have got you covered. I love channeling my inner abuela and enjoy mastering a traditional technique, but I also appreciate the opportunity to break out some fun toys.
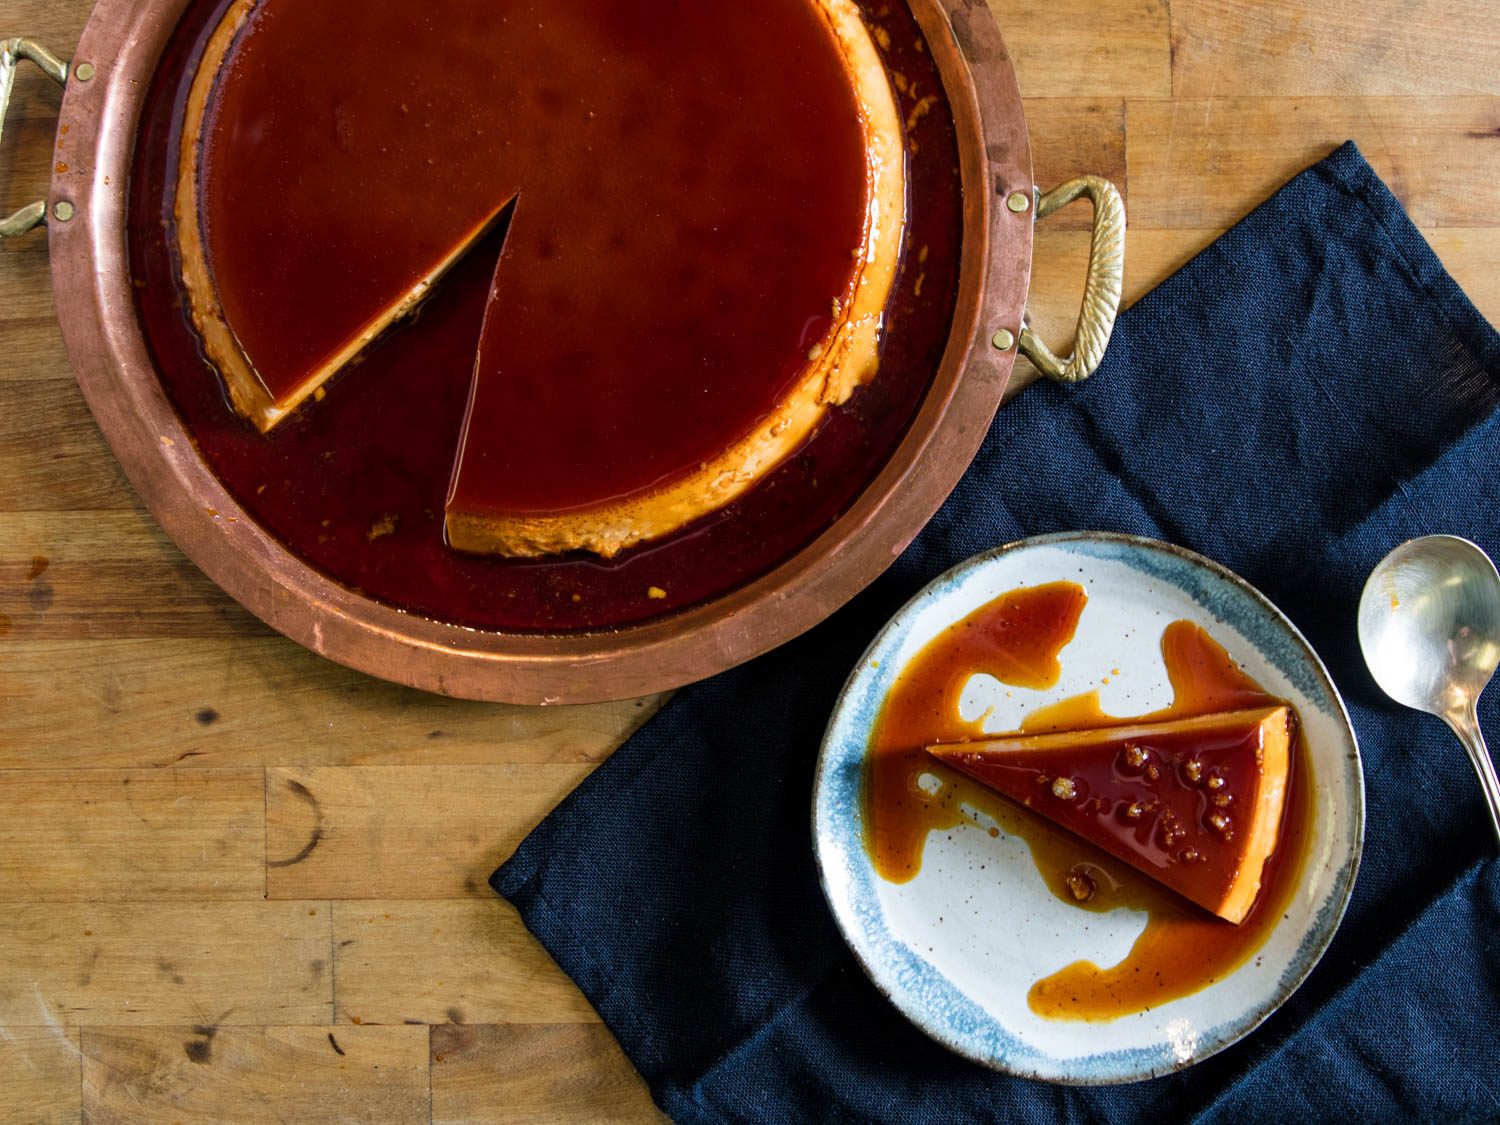
Cool the flan fully before flipping it out of the pan, or not. This is your flan and you can do with it what you want. Share it with friend and loved ones, or eat it alone in your bathtub, we won’t judge.
Source link